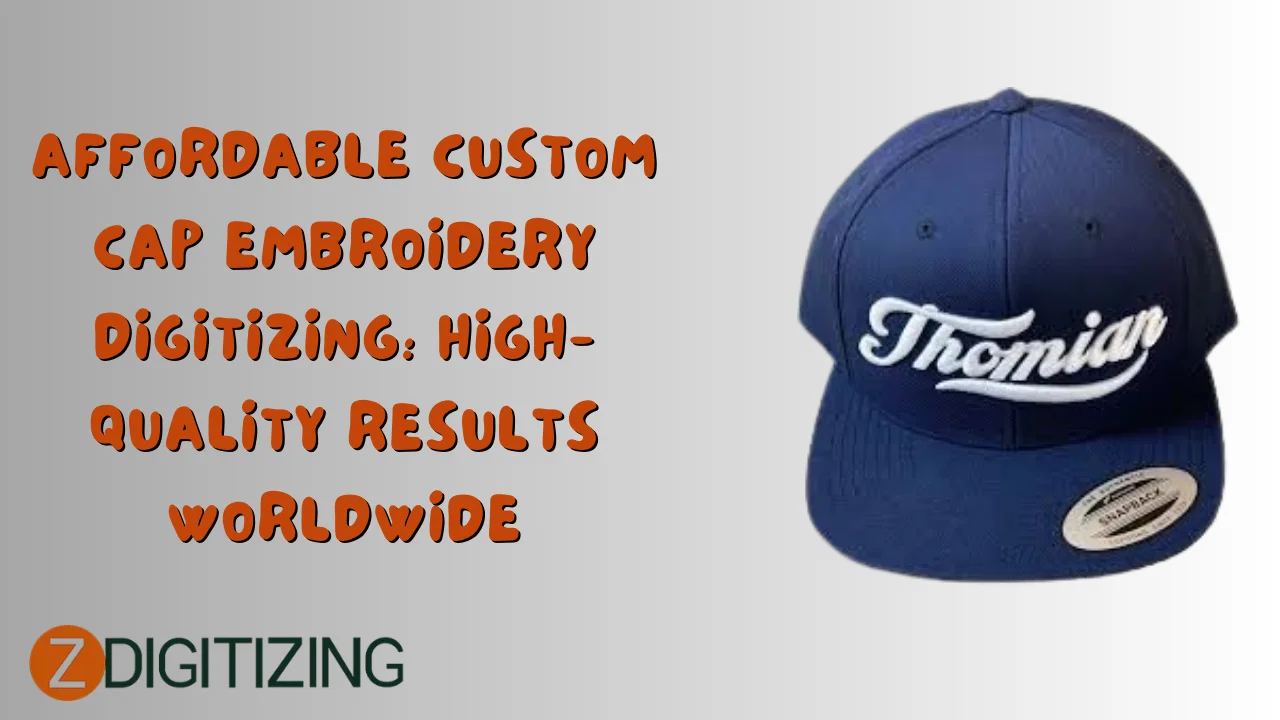
Cap embroidery digitizing is the specialized process of converting logos, text, or artwork into stitch files optimized for curved hat surfaces, structured fronts, and flex-fit stretch. In 2026, with custom caps exploding in popularity for teams, brands, events, and streetwear, affordable cap digitizing services make professional results accessible worldwide without breaking the bank. The best cap digitizing balances cost with precision pathing, curve compensation, and fabric-specific adjustments to avoid distortion, puckering, or thread breaks. This detailed guide explores how affordable cap digitizing delivers high-quality results globally, key techniques, pricing, benefits, and tips for choosing the right service to elevate your hat projects.
Why Cap Digitizing Is Unique and Challenging
Hats present digitizing challenges that flat garments don't.
Key Issues:
- Curved crown distorts straight lines
- Thick front foam causes needle deflection
- Side panels pull more than center
- Stretch materials (flex-fit) shrink designs
- Brim blocks access, requiring cap frames
Standard logo digitizing fails here cap digitizing requires:
- Lower density on sides
- Curved pull compensation
- Special 270°-360° framing optimization
- Seam reinforcement
Result Without Proper Cap Digitizing: Warped text, puckered fronts, gaps on curves.
With Expert Cap Digitizing: Perfect wrap-around logos that look straight when worn.
Popular Cap Styles:
- Structured 6-panel
- Flex-fit/unstructured
- Trucker mesh
- Dad hats
- Beanies
Each needs tailored settings for flawless embroidery.
Essential Techniques for High-Quality Cap Digitizing
Density Adjustments:
- Front panel: 0.38–0.42 mm (tight for sharp detail)
- Sides/back: 0.45–0.55 mm (looser for curve pull)
- Mesh: 0.40 mm with topping
Underlay Strategy:
- Front: Double edge-run + zigzag
- Sides: Light grid to avoid bulk
- Stretch: Heavy perpendicular underlay
Pull Compensation:
- Front: +0.2–0.3 mm
- Sides: +0.4–0.6 mm outward curve
- Text: Column widening for readability
Stitch Direction:
- Radial for circular logos
- 45° on sides for natural flow
- Horizontal on front panel
Cap Frame Optimization:
- Reduce overall density 10-15%
- Short stitches on curves (2.5–3.0 mm)
- Extra tie-offs at color changes
Pro Technique: Digitize side panels with slight outward arch prevents inward squeeze when hat stretches.
Real Example: Team logo on flex-fit caps without side compensation, letters distort; with proper cap digitizing, they stay perfect.
Structured vs Unstructured Cap Digitizing
Structured Caps:
- Higher density on front (0.38 mm)
- Strong underlay over foam seam
- Slow speed notes for thick panel
Unstructured/Flex-Fit:
- Looser density (0.50 mm)
- Heavy pull compensation (+0.5 mm)
- Ballpoint needle recommendation
Mesh Trucker Caps:
- Topping essential
- Perpendicular underlay to holes
Result: Clean stitches that don't sink or pull.
Advanced Cap Digitizing Techniques
Curved Text Mastery:
- Arc text with outward compensation
- Letter spacing adjustment for sides
Multi-Panel Designs:
- Digitize front and sides separately
- Mirror for symmetry
Specialty Effects:
- 3D puff on front panel
- Metallic outlines
- Applique for large areas (saves thread)
Vintage Distressed:
- Random short stitches
- Lower density with intentional gaps
Glow/Metallic:
- Specialty thread outlines
Thread, Needle, and Material Choices
Thread:
- 40wt polyester standard
- 35wt for bolder raised look
- Metallic for accents
Needles:
- 75/11 sharp for twill
- 80/12 for structured fronts
- Ballpoint for stretch
Cap Materials:
- Twill: Most forgiving
- Mesh: Needs topping
- Wool: Higher density possible
Hooping and Machine Setup for Caps
Cap Frames:
- 270°-360° wide frame mandatory
- Hoop backing only, float cap
- Clips for secure hold
Alignment:
- Laser tracer for center
- Test placement on blank cap
Machine Settings:
- Speed: 400-600 SPM
- Tension: Slightly looser
- Auto-trim enabled
Test Always: Run identical cap first.
Common Problems and Fixes in Cap Digitizing
Problem: Text distorts on sides Fix: Outward curve compensation, radial direction
Problem: Puckering on front Fix: Strong underlay, slower speed over seam
Problem: Stitches sink into mesh Fix: Heavy topping, perpendicular underlay
Problem: Thread breaks Fix: Efficient pathing, proper tension
Problem: Design pulls when worn Fix: Looser side density, extra compensation
Pricing for Affordable Cap Digitizing in 2026
Simple Cap Logo:
- $20-$40
Medium with Text/Curves:
- $40-$70
Complex (multi-panel, puff):
- $70-$120
Rush: +50% Bulk (50+ caps): 40% off
Value: Quality cap digitizing prevents waste on expensive caps.
Benefits of Professional Cap Digitizing Services
Quality:
- Perfect curve wrap
- Clean small text
- Durable on stretch
Efficiency:
- Fewer thread breaks
- Faster runs
Creativity:
- Bold puff, metallic, applique
Business:
- Premium pricing for custom caps
- Happy repeat clients
How to Choose Affordable Yet High-Quality Cap Digitizing
Must-Have:
- Cap portfolio
- Curve compensation expertise
- Stitch-out proofs
- Unlimited revisions
Questions:
- Experience with flex-fit caps?
- Side panel adjustment included?
- Rush options?
Top Services:
- ZDigitizing (fast, affordable, cap specialist)
- EMDigitizing (puff and specialty)
- IDigitize (precision)
Conclusion
Affordable cap digitizing in 2026 makes professional curved embroidery accessible worldwide, delivering high-quality results for structured, flex-fit, and mesh caps. From curved compensation and fabric-specific density to puff hybrids and seam reinforcement, expert digitizing ensures logos wrap perfectly and last. Test best services with one design, prioritize proofs and revisions, and build long-term partnerships the savings in time, thread, and waste are immediate. Whether creating team caps or branded merchandise, the right cap digitizing turns hats into standout products that drive sales and satisfaction.
Frequently Asked Questions (FAQs)
How much does good cap digitizing cost?
$20-$120 per design simple $20-$40, complex $70+.
Is cap digitizing more expensive than regular?
Yes curve compensation and cap frame optimization increase cost.
What's the turnaround for cap digitizing?
24-48 hours standard; rush 4-12 hours.
Do services offer revisions for cap designs?
Best ones provide unlimited free until perfect.
Can cap digitizing include 3D puff?
Yes specialized for front panel raised effects.
Why choose professional cap digitizing?
Perfect curve wrap, no distortion, clean stitching on any cap type.